· 3 min read
Running Automated Tests with GitHub Actions
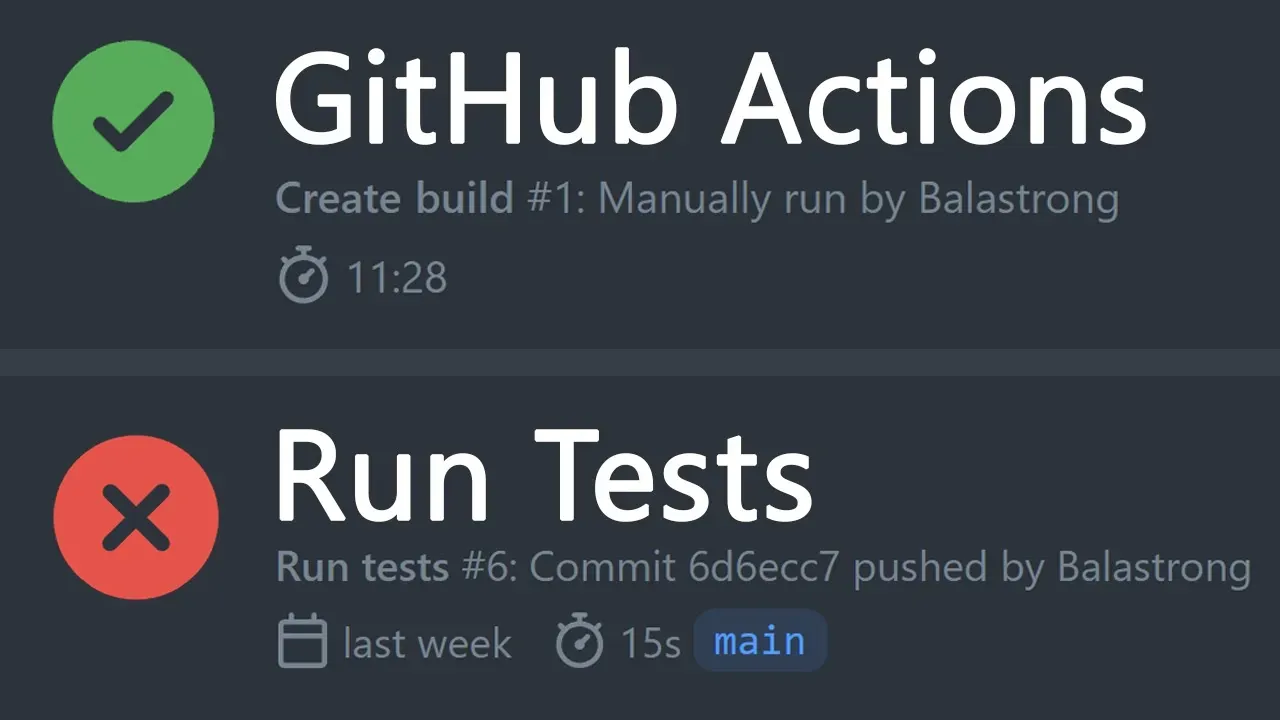
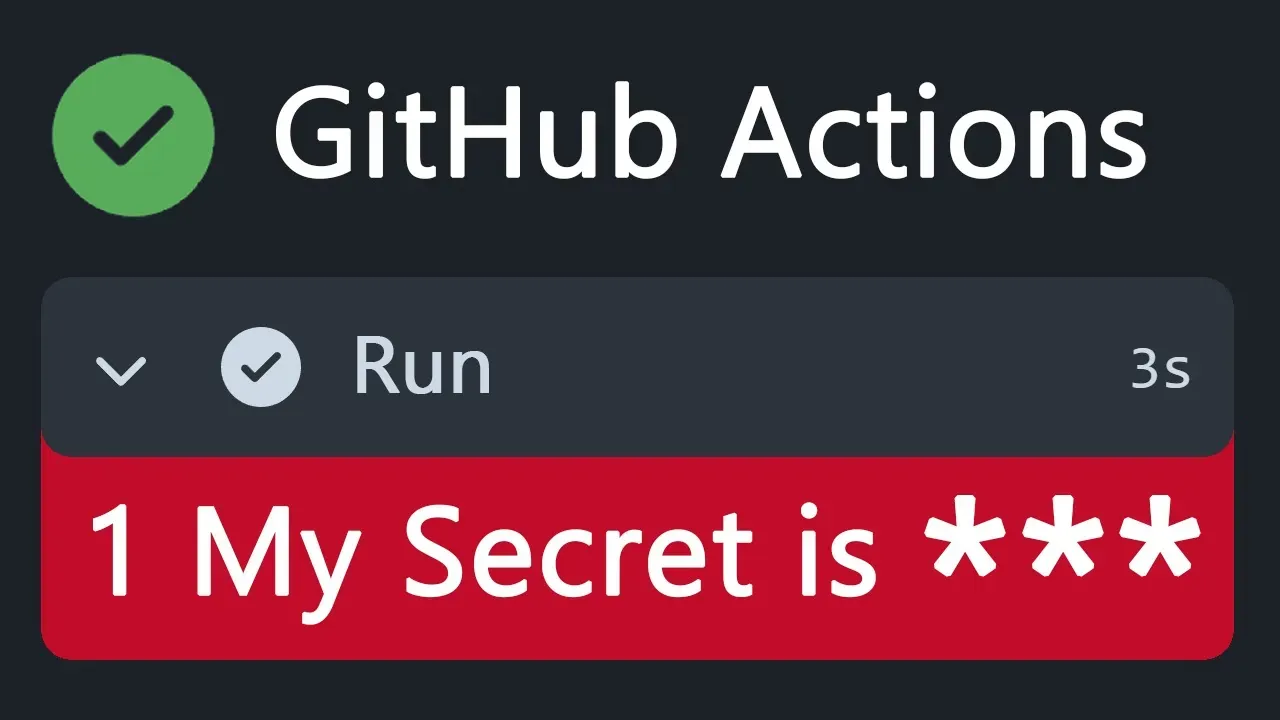
GitHub Actions can bring your project to life, for real!

GitHub Actions can bring your project to life, for real!
If you never used them, this video tutorial will help you to get started by showing the building blocks and the core concepts you need to know in order to run your own GitHub Action.
To put some more interesting content in, the goal will be running automated tests for a simple Node.js project.
Building blocks
This is what a basic GitHub Action looks like, with only the required fields:
name: Hello World

on:
  push:
    branches:
      - 'main'
  pull_request:
    branches:
      - 'main'

jobs:
  hello:
    runs-on: ubuntu-latest

    steps:
      - name: Hello Step
        run: echo "Hello World"
In the video I’m going to write it step by step and describing each keyword and field you find there.
The output here will be a simple “Hello World” in the console of the GitHub Action.
Running automated tests
As said at the beginning, let’s add some more value with a real use case: running automated tests for a Node.js project.
During the video I’ll explain how to start from the Hello World action and build a new one that runs the tests. The final result will be something like this:
name: Run tests

on:
  push:
    branches:
      - 'main'
  pull_request:
    branches:
      - 'main'

jobs:
  tests:
    runs-on: ubuntu-latest

    steps:
      - name: Checkout
        uses: actions/checkout@v2
      - name: Setup Node
        uses: actions/setup-node@v2
        with:
          node-version: 16.18
      - name: Install Dependencies
        run: npm ci
      - name: Run tests
        run: npm test
The first part is a lot similar to our basic action but now we have a few more steps to run the tests. Some new concepts involved here are:
- Running other actions inside our action
withkeyword to pass parameters to the action- Running npm scripts
What happens if tests are failing?
The goal of having tests is to make sure that the code is working as expected. If the tests are failing, we want to know about it.
In the video I’ll show you how to configure the action to fail if the tests are failing and how to get the output of the tests in the GitHub Action console. This will also be shown in the Pull Request page so that you know what is failing and you can fix it before merging the code.
Bringing it all together
During the video I’ll slowly explain each step and show you the outcome on the GitHub Actions tab. You can watch it here:
Resources
This video tutorial is meant to be a light introduction to GitHub Actions. You can learn more on the official GitHub Actions documentation.

Hello! My name is Leonardo and as you might have noticed, I like to talk about Web Development and Open Source!
I use GitHub every day and my favourite editor is Visual Studio Code... this might influence a little bit my conent! :D
If you like what I do, you should have a look at my YouTube Channel!
Let's get in touch, feel free to send me a DM on Twitter!


