· 5 min read
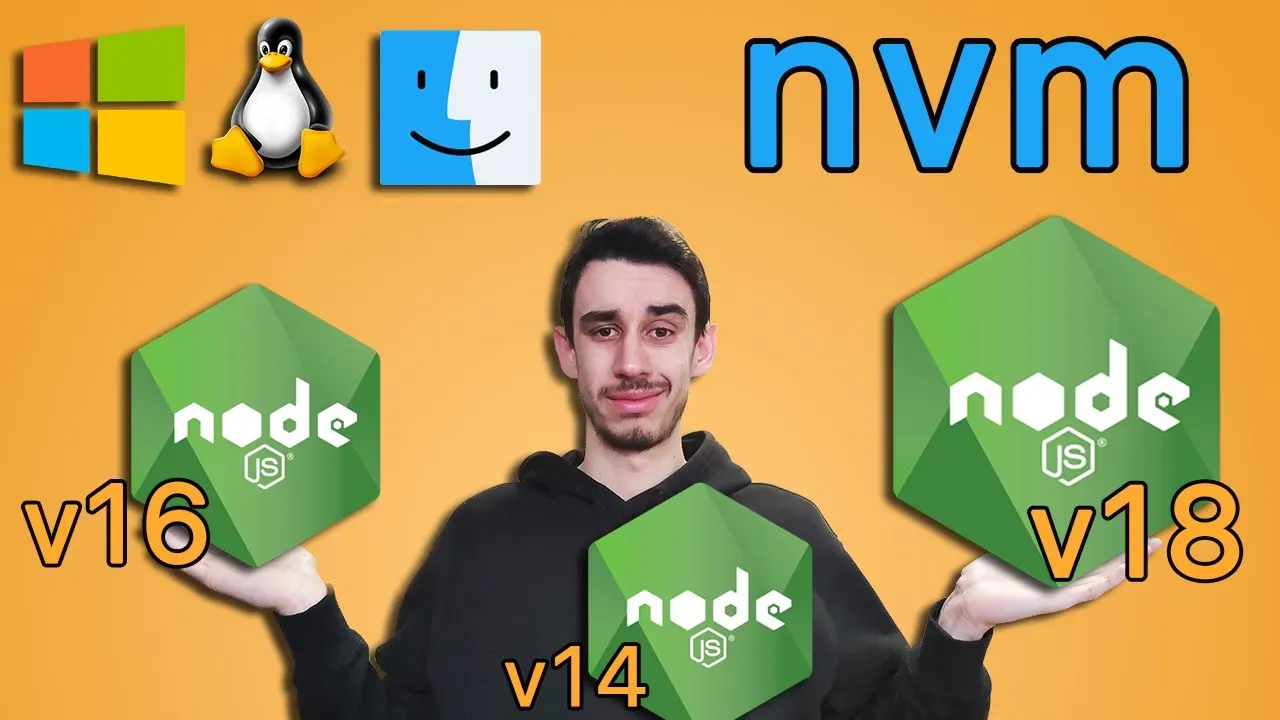
Manage multiple Node.js versions with NVM
Need different Node.js versions for different projects? NVM makes it seamless.
When you work on multiple projects, and this happens quite often if you’re into Open Source, you will find yourself in a situation where you need to use different Node.js versions but you’re stuck.
A project might require a newer version, let’s say higher than 18, while another old project might be bound to a lower version, let’s say 16, due to some dependencies.
You can’t just install the latest version of Node.js and use it for all your projects because you’ll break the old ones. And you can’t just install the old version and use it for all your projects because you’ll break the new ones instead.
Is there an easy way to handle that? Sure there is, and it is called nvm. In the video here, I will show you how it works and how you can install this tool in your terminal. Works on all OS but make sure you install the right one. More details on the video, and later in the article.
Installation
Depending on your OS, you will find two different tools. They’re both called nvm, but they’re not exactly the same, nor they’re meant to be. One is for Windows, the other one is for Mac and Linux.
- Windows: https://github.com/coreybutler/nvm-windows
- Linux/MacOS: https://github.com/nvm-sh/nvm
In both cases, you will find plenty of documentation already in the README, so I won’t go too much into detail here. The quickest way for windows is to use the installer, while for Linux/MacOS you can use the curl command (copy-paste it into your terminal).
Usage
Once installed, you can use the nvm command in your terminal. The first thing you need to do is to install the Node.js version you want to use. You can find the list of available versions here: https://nodejs.org/dist/index.json
For example, if you want to install Node.js 16, you can run:
nvm install 16
This will install Node.js 16 and make it the default version. You can check the current version with:
node -v
You can also specify minor and patch versions, for example:
nvm install 18.14.0
At this point, you’ll end up having two different versions of Node.js installed on your machine. You can switch between them using the use command:
nvm use 18
or again in case you have multiple minor versions:
nvm use 18.14.0
If you install a version by mistake, or you simply want to remove one for some reason, you can use the uninstall command:
nvm uninstall 18.14.0
Note: changes are local to the terminal where you’re running the command. If you open a terminal in a different folder, you’ll find yourself in the default version again. This is actually quite handy if you need to run multiple projects with different versions at the same time (let’s say backend and frontend of your project).
Multiple projects
What we’ve seen so far is super cool, but we don’t want to keep in mind which version we’re using for each project. Sure, we can find it easily in the package.json under the key engines if specified, but then we have to manually type the version in the terminal.
To solve this problem, we can use the .nvmrc file. This file is a simple text file that contains the version we want to use for the current project. If you create a file called .nvmrc in the root of your project, and you put the version number inside, you can run the use command without any arguments:
nvm use
The output will be something like this:
Found '/PATH/TO/YOUR/REPO/.nvmrc' with version <v16.16.0>
Now using node v16.16.0 (npm v8.11.0)
Super handy, but we had to run the command manually.
Automatic switching
What if we could make it even more seamless? What if we could automatically switch to the right version when we enter a project folder? Well, we can!
With the Unix version (nvm-sh) you can find the .nvmrc part in the documentation which explains to you how!
For example, if you’re using zsh as I do (I also show this in the video) you can add the following line to your ~.zshrc file:
# place this after nvm initialization!
autoload -U add-zsh-hook
load-nvmrc() {
  local nvmrc_path="$(nvm_find_nvmrc)"

  if [ -n "$nvmrc_path" ]; then
    local nvmrc_node_version=$(nvm version "$(cat "${nvmrc_path}")")

    if [ "$nvmrc_node_version" = "N/A" ]; then
      nvm install
    elif [ "$nvmrc_node_version" != "$(nvm version)" ]; then
      nvm use
    fi
  elif [ -n "$(PWD=$OLDPWD nvm_find_nvmrc)" ] && [ "$(nvm version)" != "$(nvm version default)" ]; then
    echo "Reverting to nvm default version"
    nvm use default
  fi
}
add-zsh-hook chpwd load-nvmrc
load-nvmrc
As a result, every time you open the terminal or navigate to a folder if there is a .nvmrc file, it will automatically switch to the right version.
Also, if you don’t have that version installed, it will install it for you.
Conclusion
This is a super handy tool that I use every day, without even noticing! I’ve got .nvmrc set up on all my projects (personal and company) and I usually ask when the project is not mine to add this file too. I see it quite often which makes me think it’s kind of a standard.
In any case, adding it to your project won’t hurt even if you’re not using nvm, but will make life easier for those who do, so why not? :)
Did you know about this tool? If yes, how many versions do you have installed? Just run this command:
nvm ls | wc -l
I got 11! 😅
If you have any questions, feel free to ask them in the comments below and if you want to see a live demo, let me recommend you once more to have a look at the video.
Thanks for reading and see you next time!

Hello! My name is Leonardo and as you might have noticed, I like to talk about Web Development and Open Source!
I use GitHub every day and my favourite editor is Visual Studio Code... this might influence a little bit my content! :D
If you like what I do, you should have a look at my YouTube Channel!
Let's get in touch, you can find me on the Contact Me page!