· 5 min read
Git Hooks with Husky 🐶
Format, lint and test your code automatically before committing or pushing it to the repository.

Three things you do NOT want in your repository:
- Unformatted code
- Warnings/errors
- Failing tests
Is there an easy way to prevent these from happening? Sure, just make sure to format your code, run linters and launch your test suite right before pushing the code. And also, please tell your team to do the same.
What could go wrong? Everything :D
If a solution requires that people having to remember about doing something, you can be sure that it will not work.
Git Hooks
A possible solution to automate this process is with Git Hooks. They are basically scripts that run automatically every time a specific event occurs in a Git repository. For example, you can run a script before git commit (format and lint) or before git push (tests).
You can also make the action fail (commit or push, in this case) if the related hook fails.
This already sounds great but there is a problem: Git Hooks are not part of the repository. They are stored locally in the .git folder, which is not versioned. This means that every time you or a colleague clone a repository, they have to set up the hooks again.
Looks like we’re still falling into the same trap, people have to remember to do something manually. Not gonna work.
Husky 🐶
Fear not! You can kindly ask a Husky to help you with that.

I mean, not the dog, but a really cool node package called Husky.
What husky does is mainly two things:
- You can define git hooks in your repository and keep them versioned, so that everyone will have the code when cloning the repo.
- It will automatically set up the hooks for you when you run
npm install(oryarn), which means you can be faril sure that everyone will have them.
How cool is that? This actually covers the two main issues we had before!
How to use it
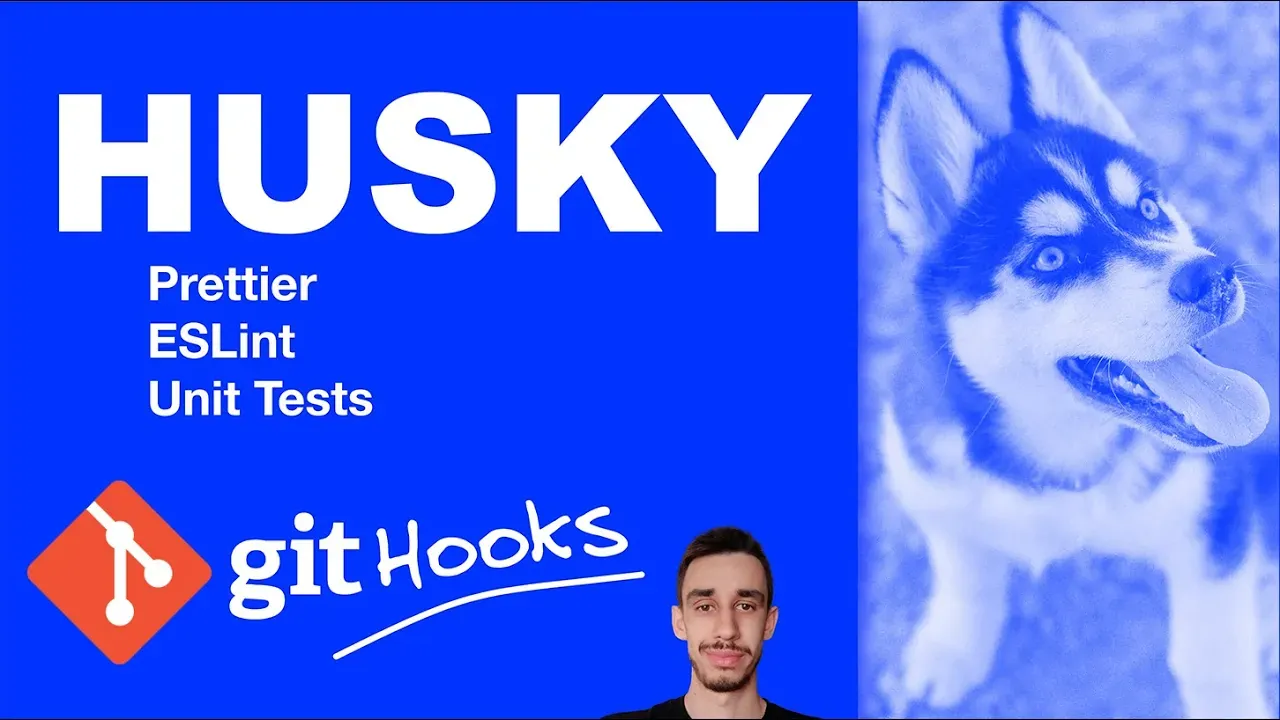
I recorded a video where I go step by step through the process of setting up Husky in a repository, with two hooks:
pre-commit: runsprettierandeslinton the staged filespre-push: runs the test suite
No time to watch the video, here’s a quick summary:
Prerequisites
In this example I will use prettier and eslint to format and lint the code. I will also use lint-staged to run the linters only on the staged files. If you don’t have them yet, follow these simple steps:
npm install -D prettier lint-staged
For eslint you can indeed manually install it as a dev dependency and paste a config file, or you can run this command and follow the instructions:
npm init @eslint/config
This will run a simple CLI wizard that will end up generating a .eslintrc file for you and install the required dependencies.
Additionally, make sure to configure lint-staged to define what commands have to be executed on what files. An example:
{
  "./src/**/*.{js,ts}": ["prettier --write", "eslint --max-warnings 0"]
}
This config runs prettier and eslint with the given arguments on all the js and ts files in the src folder.
Husky Setup
You can follow the official docs to set up Husky, but it’s literally as easy as running this command:
npx husky-init && npm install
or
yarn dlx husky-init --yarn2 && yarn
This command will do everything for you, in partcular it will add on your package.json a prepare script that is what makes sure everyone has hooks installed after running npm install or yarn.
It will also create an example pre-commit hook in the .husky folder, which you can edit to add your own hooks.
Pre-commit hook
Husky already generated it for us, but it contains npm test as an example.
In our case we want to replace it with lint-staged. You can do it via the CLI but it’s also as easy as opening the file in .husky/pre-commit and replacing the last line with npx lint-staged.
Make sure to run again npm install or yarn to install the hook and you’re done!
Pre-push hook
This one is not generated by Husky, so we have to create it manually.
You can either manually create a file called .husky/pre-push or run this command:
npx husky add .husky/pre-push "npm test"
This will create the file and add the npm test command to it. Once again, run npm install or yarn so that the hook is properly set in your repository.
Bypass Husky
Having too strict rules sometimes can be frustrating, especially when you’re in a hurry and you just want to push your code and go home.
Husky allows you to bypass the hooks by adding the --no-verify flag to the command. For example:
git commit -m "My commit message" --no-verify
This will skip the hooks and allow you to commit your code.
However, now all commands support --no-verify, including git push.
In this case, you can manually disable husky for that run by setting the HUSKY environment variable to 0:
HUSKY=0 git push
This will let you run the command without the hooks. If you run git push without the HUSKY variable, it will trigger the hooks as usual.
Now that you know how to bypass hooks, please, please, please, don’t do it unless strictly necessary.
Conclusion
If you cannot, or just don’t want to, get the job done by pipelines, I highly recommend you to use this tool! It’s so simple to set up and it just works for everyone.
And that’s it! With husky you can make sure everyone in your team has all the required git hooks always set! Today we showcased only pre-commit and pre-push, but husky supports all available git hooks.
You can learn more about husky in the official docs and you should definitely leave a star to the GitHub repository.
Husky - Photo by Nataliia Kvitovska on Unsplash

Hello! My name is Leonardo and as you might have noticed, I like to talk about Web Development and Open Source!
I use GitHub every day and my favourite editor is Visual Studio Code... this might influence a little bit my content! :D
If you like what I do, you should have a look at my YouTube Channel!
Let's get in touch, you can find me on the Contact Me page!


