· 2 min read
⏰ How to create your First Pull Request on GitHub in less than 60 seconds!
Intro
Let’s see the steps you need from zero to creating your first Pull Request.
If you’re already following me, you know I’m an Open Source enthusiast. If you’re not following me, that’s bad but you can start today 😁
You might also know I like making YouTube videos and I’m having fun with #Shorts recently.
The most recent one is a YouTube Short (that is a video of less than 60 seconds) that attempts to show in a practical way how to open your first Pull Request on GitHub. You can watch it by clicking here.
It’s mostly for beginners, so if you’re already actively contributing you might already know everything. There isn’t any secret recipe revealed here 😅
If you want to start today (you should), then you better watch the video!
How to create your First Pull Request on GitHub in less than 60 seconds
Well, after this long intro, here’s the juicy content.
1. Setup
Nowadays the go-to platform is GitHub, in case you don’t have an account yet you can create one real quick.
2. Find your way (actually, a repo)
Find a repository you want to contribute at, I’m already writing the script for a video entirely about that.
3. Get a job (I mean, an issue)
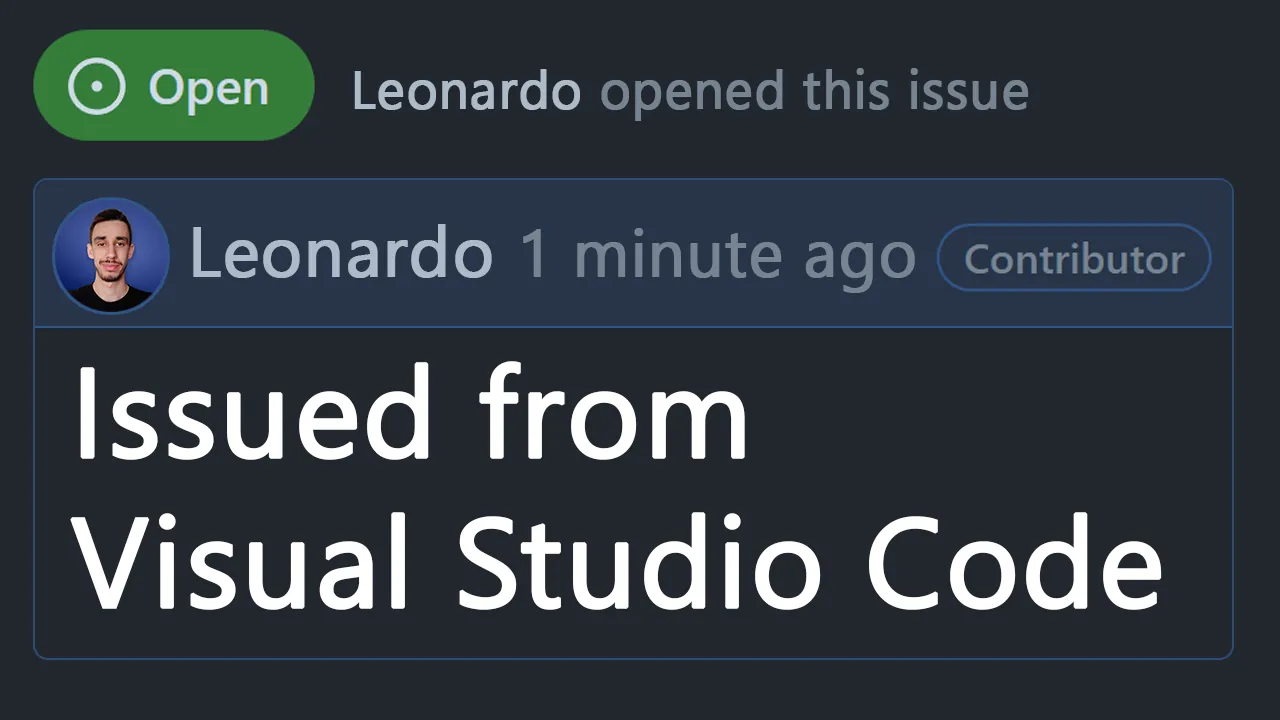
Scroll through the issues, you should find some with labels Good First Issue or Help Wanted, they’re usually the best to begin. In some big project, only issues with those lables are considered for PRs.
4. Start working!
Let everyone know you’re gonna work on that issue by writing a comment.
5. Fork🍴
You’ll now need a Fork of the repository, you can create one with the button on the top right corner of the repository.
6. Work(s) on your machine
Clone your fork locally, do your changes in a new branch and push them.
7. Stop. PR Time!
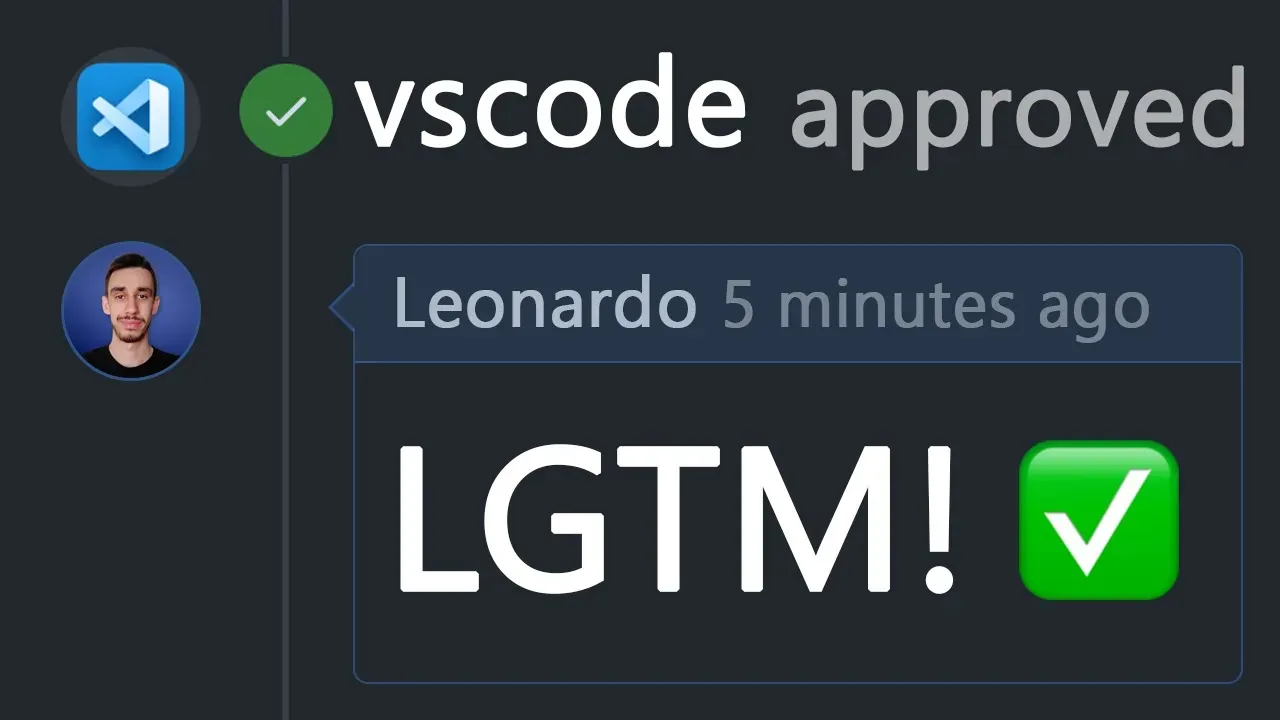
Back to the original repo, you will now see a button to create a Pull Request, click on it!
Fill in the additional details and it’s done, you can now wait for the maintainers to give you feedback on your work.
Conclusions
Ok, this was just a drill. Now you know all the steps you will need to perform to open your first Pull Request.
Feel free to write a comment if you didn’t understand something or if you want to add some advice. Thank you!

Hello! My name is Leonardo and as you might have noticed, I like to talk about Web Development and Open Source!
I use GitHub every day and my favourite editor is Visual Studio Code... this might influence a little bit my content! :D
If you like what I do, you should have a look at my YouTube Channel!
Let's get in touch, you can find me on the Contact Me page!